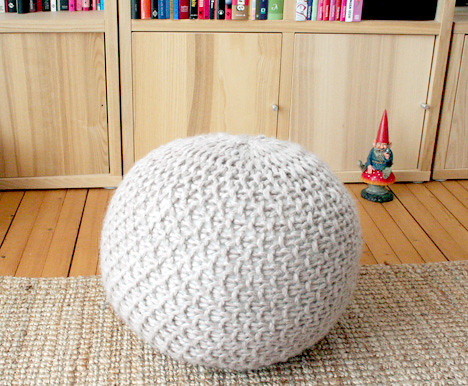
DWRChristien Meindertsma's Flocks Pouf (2006)
  Pickles
What we used:
Eskimo, 18 balls (Or yarn suitable for US #13 needles)
Acrylic yarn would probably be a really good alternative, as it´s a piece of furniture
US #19 circular needles
2 cheap duves (feather and down)
How we did it:
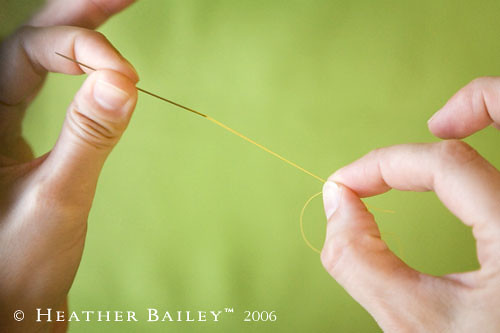
Cast on 35 stitches using three threads.
Knit the garter stitch until you´ve knitted all the balls, and there is just enough yarn left to asseble the stool.
You now have ONE rectangular piece.
Cast off loosely.
Assemble the short sides (35 stitch side) as neatly as you can.
Assemble the first long side. This is supposed to be the top or the bottom of the stool. Put the needle through the end stitch of every second row and tighten, tighten, tighten! Repeat on the rows in between and tighten until there is no whole in the middle.
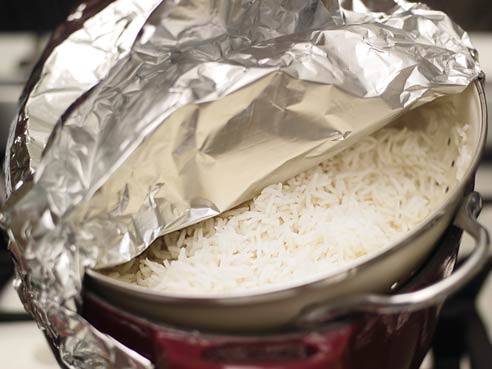
Stuff the duves into the stool. We tried to make a ball of the duves before we stuffed it.
Assemble the other end in the same manner as the first.

What we used
9 balls of Eskimo, or similar
A cushion from Ikea, or a cheap duvet
Circular knitting needles, 15 mm
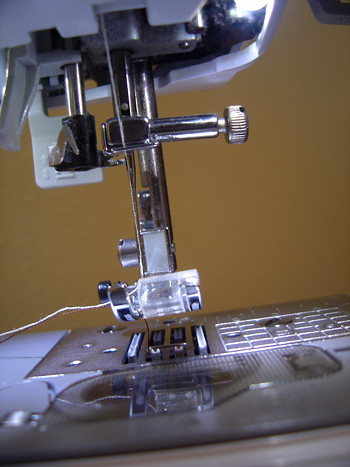
Thick needle to assemble the stool
How we did it
Cast on 25 stitches using three threads.
Every row is knitted like this:
* K1, P1*
Repeat from * to* the throughout the row.
To create the moss stitch you simply knit over a purl and purl over a knit.
Knit all the 9 balls, but leave enough yarn for the assembly. Cast odd loosely.
Assemble the two short sides as neatly as possible.
Now assemble the bottom. Put your needle into the end stitch of every second row and tighten. Put the needle into the stitches you left out and tighten again. There´s not supposed to be a whole at all when you´re done.
Stuff your stool with a big cushion or a duvet (we preferred the last one) and repeat the assembly on the top.
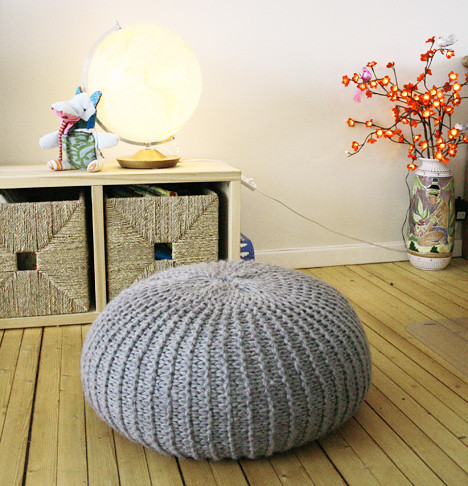
Anyways, the stool is noe done!

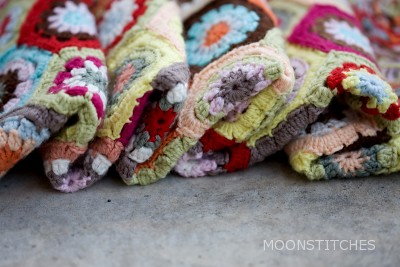
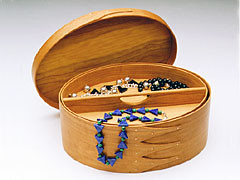
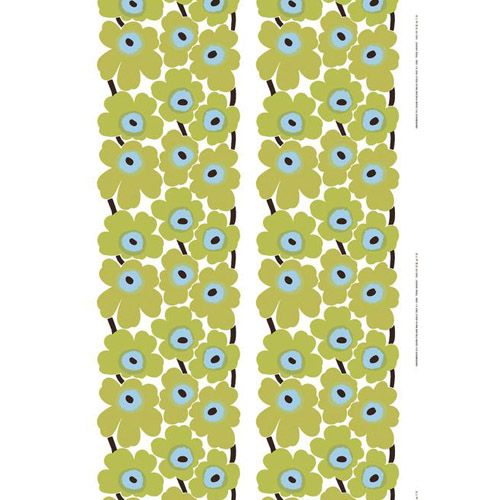
 Image by Mairuru
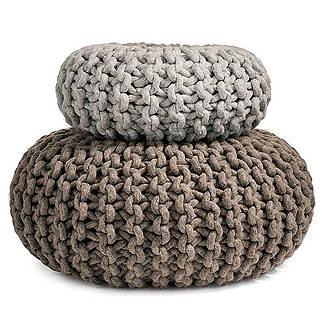


 Dualit
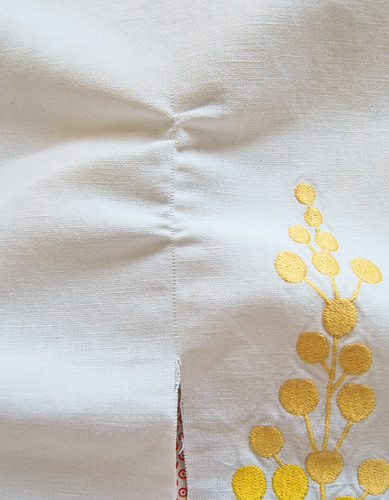


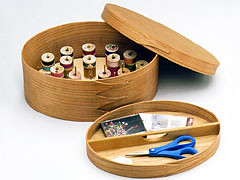
 Urban Collector