Always Mod
Sunday, August 9, 2009
Decor: Knitted Poufs
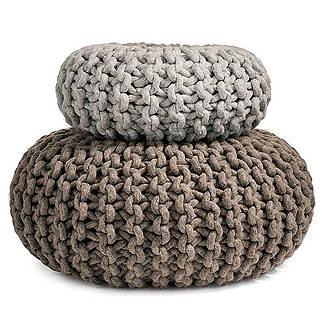
DWR
Christien Meindertsma's Flocks Pouf (2006)
Pickles
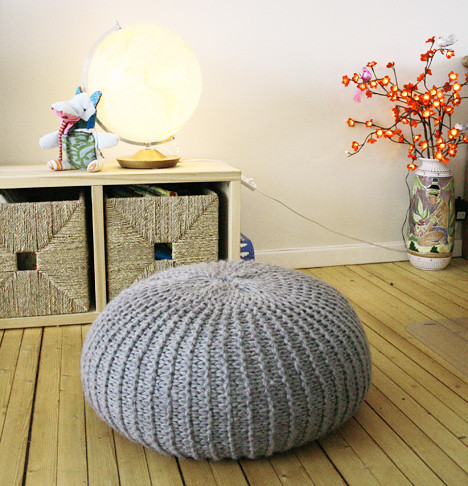
What we used:
Eskimo, 18 balls (Or yarn suitable for US #13 needles)
Acrylic yarn would probably be a really good alternative, as it´s a piece of furniture
US #19 circular needles
2 cheap duves (feather and down)
How we did it:
Cast on 35 stitches using three threads.
Knit the garter stitch until you´ve knitted all the balls, and there is just enough yarn left to asseble the stool.
You now have ONE rectangular piece.
Cast off loosely.
Assemble the short sides (35 stitch side) as neatly as you can.
Assemble the first long side. This is supposed to be the top or the bottom of the stool. Put the needle through the end stitch of every second row and tighten, tighten, tighten! Repeat on the rows in between and tighten until there is no whole in the middle.
Stuff the duves into the stool. We tried to make a ball of the duves before we stuffed it.
Assemble the other end in the same manner as the first.
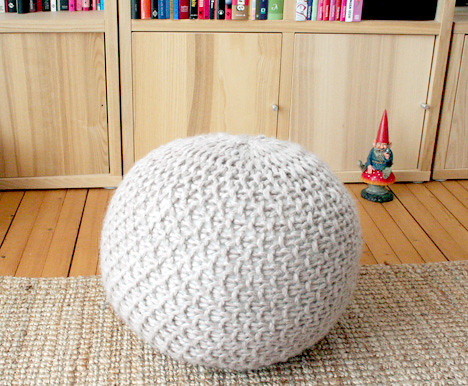
What we used
9 balls of Eskimo, or similar
A cushion from Ikea, or a cheap duvet
Circular knitting needles, 15 mm
Thick needle to assemble the stool
How we did it
Cast on 25 stitches using three threads.
Every row is knitted like this:
* K1, P1*
Repeat from * to* the throughout the row.
To create the moss stitch you simply knit over a purl and purl over a knit.
Knit all the 9 balls, but leave enough yarn for the assembly. Cast odd loosely.
Assemble the two short sides as neatly as possible.
Now assemble the bottom. Put your needle into the end stitch of every second row and tighten. Put the needle into the stitches you left out and tighten again. There´s not supposed to be a whole at all when you´re done.
Stuff your stool with a big cushion or a duvet (we preferred the last one) and repeat the assembly on the top.
Anyways, the stool is noe done!

Light & Fluffy Rice
Jamie Oliver
light and fluffy rice
snacks and sides | serves 4 - 6
This is my basic recipe for getting perfect rice every time. Have a go at mastering it – you’ll be amazed at the light and fluffy results.
Once you’ve got the hang of that, you can have a go at flavouring it - any flavouring you boil with the rice will infuse it with wonderful fragrances and flavours. So try boiling things like fresh herbs, a cinnamon stick, a few cardamom pods, a strip of lemon zest or even a green tea bag in the water with the rice.
Doubling the amounts in the recipe will give you enough rice to serve 8-12 people.
• Put a large pan of salted water on a high heat and bring to the boil
• Rinse the rice in a colander under running water for about 1 minute, or until the water runs clear (this will stop the grains sticking together later)
• Add your rice to the boiling water and wait for the grains to start dancing around
• From that point, boil for 5 minutes
• Drain the rice in a colander
• Pour 2.5cm of water into the pan, put it back on the heat and bring it to the boil again, then turn down to a simmer
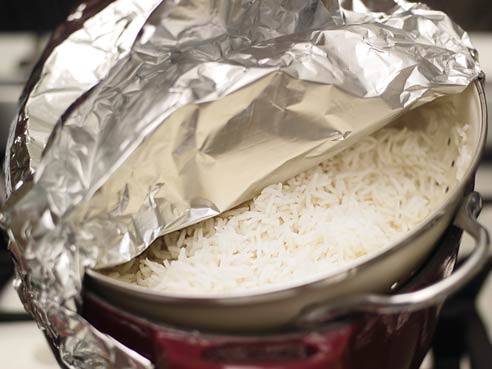
• Cover the rice in the colander with foil or a lid
• Place the colander on top of the pan of simmering water and let the rice steam over it for 8 to 10 minutes
• Remove from the heat and if you’re ready, serve immediately
• If not, leave the foil or lid on and put aside until ready to serve – it should stay warm for about 20 minutes
Hexagons
Attic 24's Hexagon Tutorial
Basically ...
Round 1: Chain 3; Join with Slipstitch; Chain 3; DC (US) eleven times in ring; join ring with slipstitch.
Round 2: Chain 2, DC (US) into same stitch *DC (US) Bobbles Twice, Chain 1* eleven times through stitches of previous round. Join round with slipstitch.
Round 3: Chain 3; DC twice into same space, *DC (US) three times, CHain 1* eleven times through spaces of previous round. Join round with slipstitch.
Round 4: PUll loop through space and chain three; *slip stitch into next space and chain 3* into spaces of previous round. Join round with slipstitch.
Round 5: You are using the same colour as the last round, and you will be working the stitches under the chain-3 loops you created. So to begin, make a slip stitch under the nearest chain-3 loop.
Chain 3 (counts as one dc/tr), then US dc / UK tr twice. Chain 2 (this is the corner spacing), then in the SAME chain-3 loop, US dc / UK tr three times. This is your first corner, it should look like a double cluster of 6 dc/tr's with a pointy corner bit in the middle.
Into the next chain-3 loop, work US dc / UK tr three times. This is a single cluster and makes a straight side.
Into the next chain-3 loop, work US dc / UK Tr three times, chain 2, then US dc / UK Tr three times. This is your second corner.
Continue working your way round making your clusters of 3 dc's /tr's, alternating between making a double cluster corner group (with chain 2 spacing) and a straight side single cluster. You should be ending the round on a straight-side group of three dc's/Tr's. Join the round with a slip stitch and fasten off.
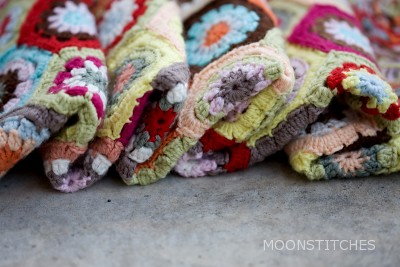
Moonstitches's Joining Tutorial
Haverhill Afghan at Garnet Hill
Saturday, May 16, 2009
Cookbooks
Mastering the Art of French Cooking.
Thought I had this.
Crazy Water Pickled Lemons: Enchanting Dishes from the Middle East, Mediterranean and North Africa, by Diana Henry
Subscribe to:
Posts (Atom)