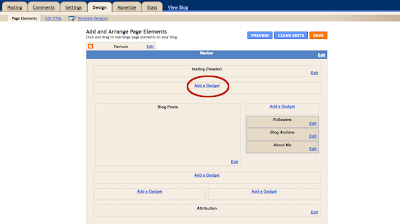
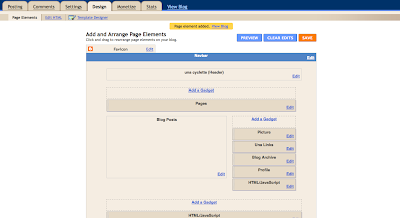
Select Design Tab.
Select Add a Gadget.
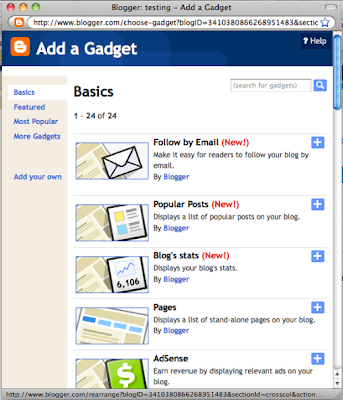
Select Pages in the new window that appears.
Edit (if you want to) and save.
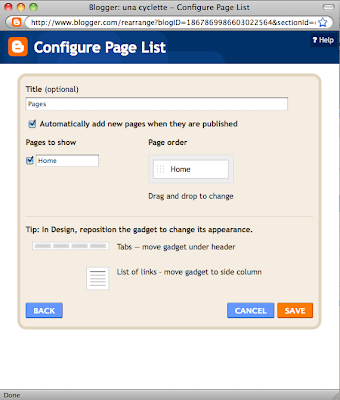
Save new blog layout. You have enabled Pages for your blog.
STEP 2: Use Pages
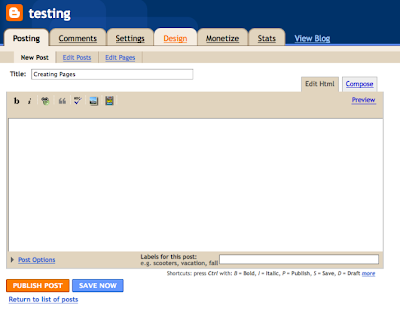
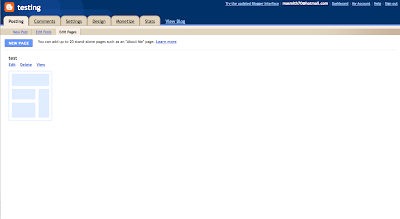
1. Select Posting tab and then Edit Pages. Select New Page button.
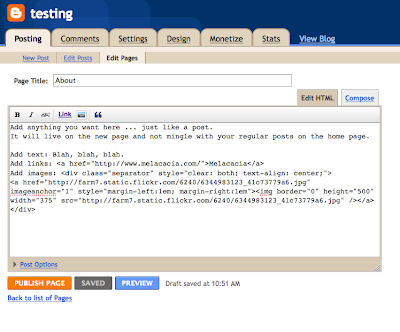
2. Add anything you want here ... just like a post.
It will live on the new page and not mingle with your regular posts on the home page.
Add text.
Add links.
Add images.
Publish and view page or blog.
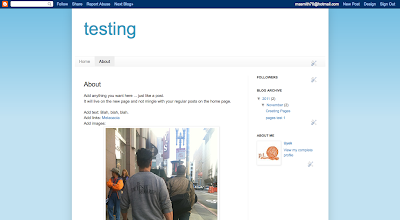
3. Here is how it looks:
You can create up to ten pages.
Now when you select Edit Pages, you will see all pages all as icons. You can view, edit, and/or delete them as you wish.

STEP 3: Rename, reorder, delete pages.
1. View Blog; click on crossed screwdriver and wrench icon.
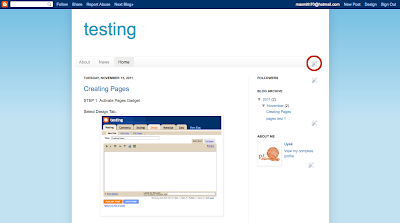
2. You can drag and rearrange the order of the pages, rename them, or hide them here.
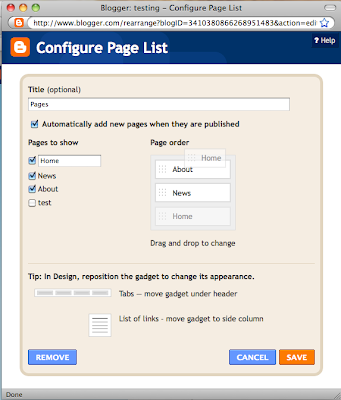
3. Remember: to delete a page, visit the Posting tab and then the Edit pages link.


No comments:
Post a Comment