More for C.
You have your pins. Now you can edit, repin them (i.e., pin them simultaneously on your other boards), and delete them if you have a change of heart.
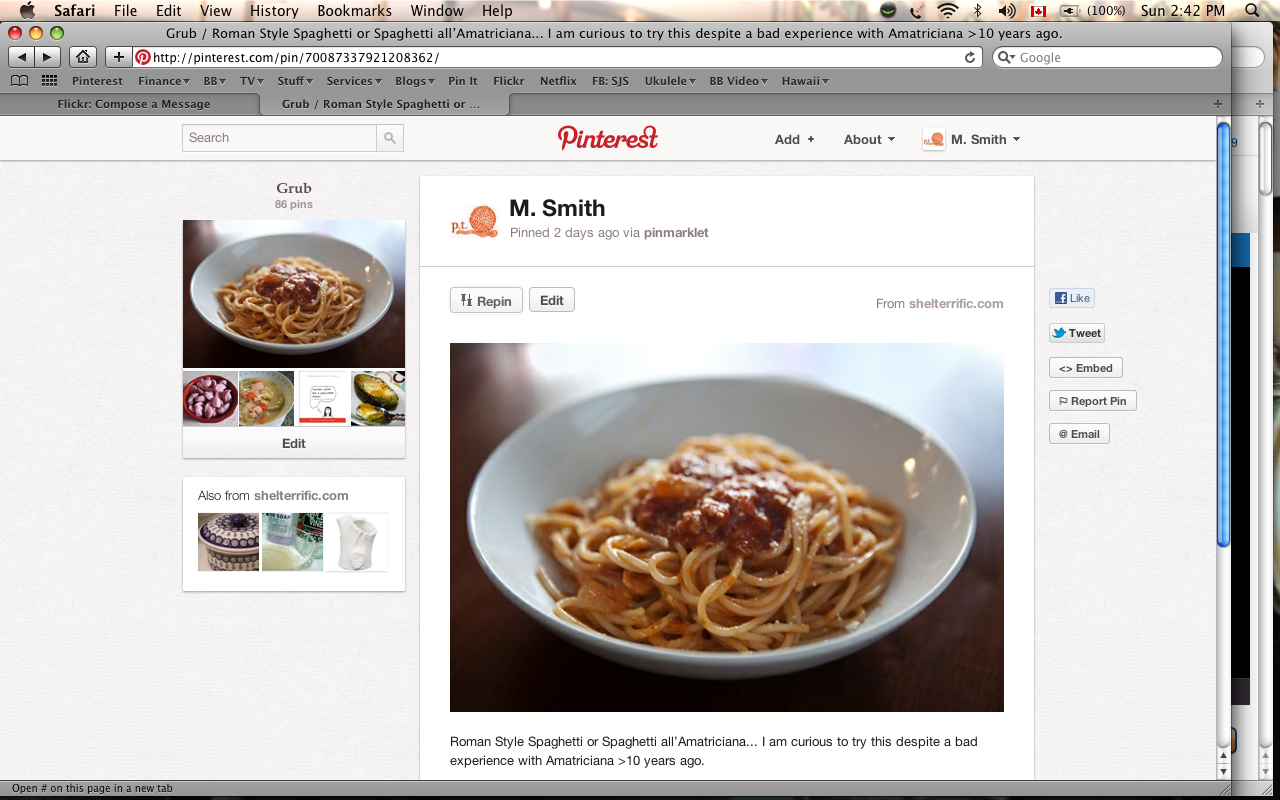
Let's tackle editing first.
Select the image you want to edit. Look for the "Edit" button in the upper left corner. Select it.

You can click within and edit the content of the Link box in the same way.
Select the drop down menu (in this example, the image is on my Grub board), if you want to move the image to a different board.
Don't forget to select the red "Save Pin" button to keep your changes!
Lastly, you can select the Delete button, if you cannot remember why you ever liked that particular image in the first place.

Repinning is useful. You do it to others' images but you can do it to your own images too.
Let's say that this recipe is so wonderful that I want to keep it on my Grub board but also pin it to another of my boards.
Look for the "Repin" button in the upper left corner. Select it.
This screen will appear. You might want to change the text for the image on the other board but you don't have to do so. Retype and/or delete at will.


And when you go looking, you will see that the recipe is also on the second board. You can do this as often as you like to an image.
Nifty, eh?


Mercy Buckets!!!
ReplyDeleteDe rien!
Delete